Last updated: July 2026 · Reviewed against manufacturer installation guidelines
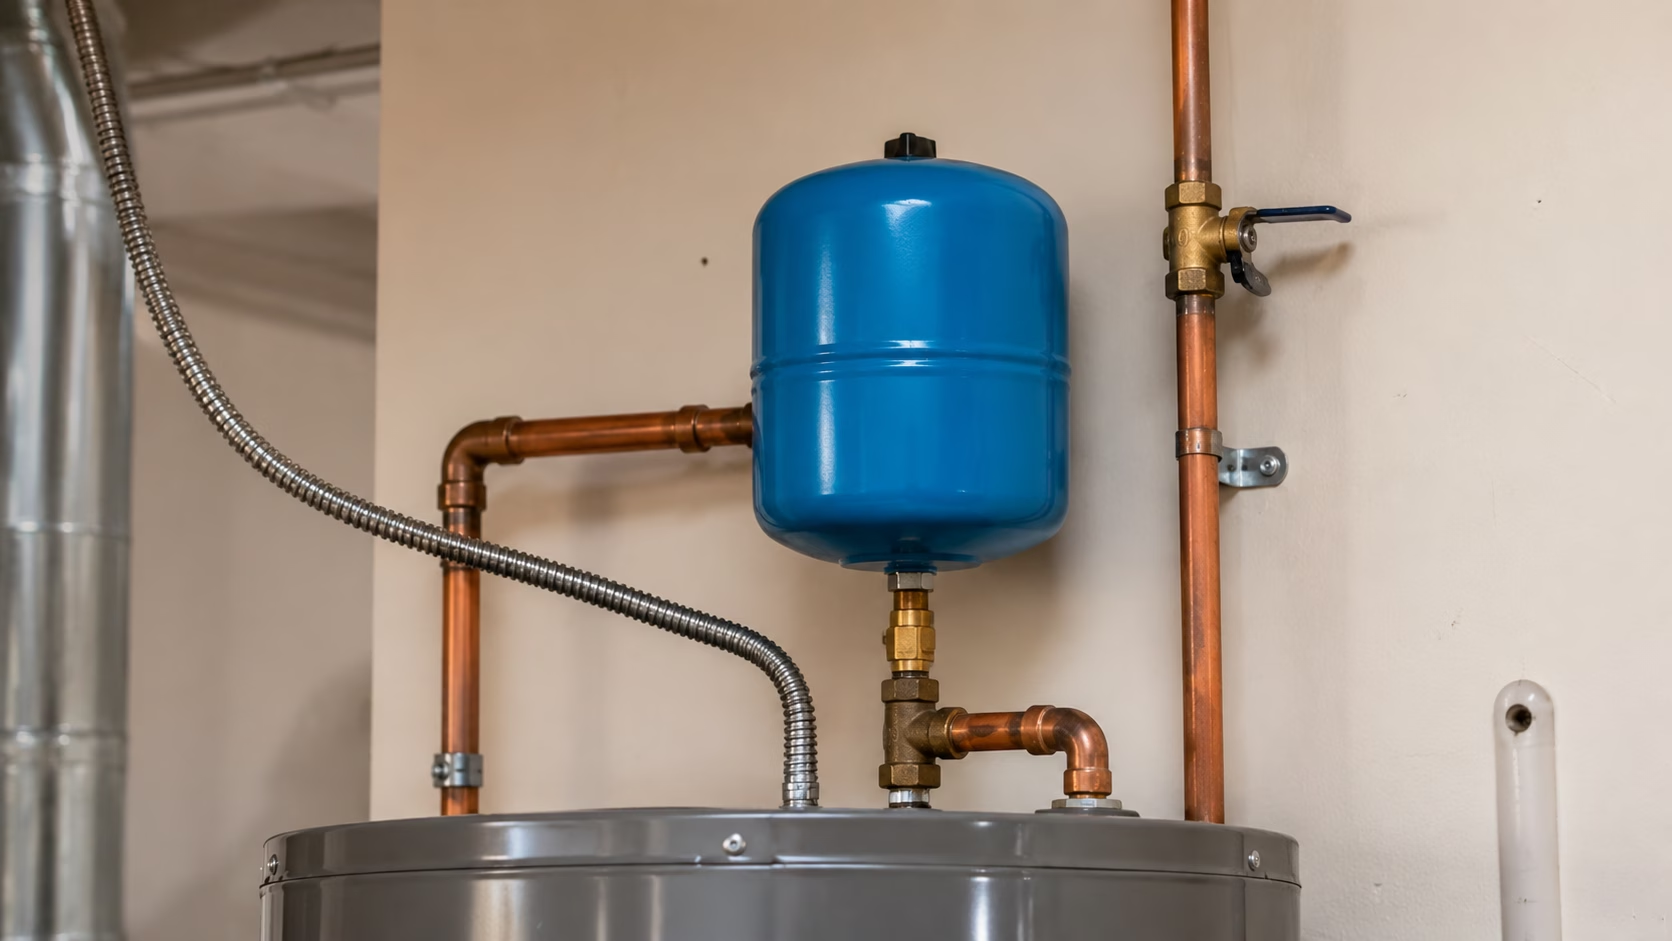
A thermal expansion tank protects your water heater and plumbing from the pressure that builds when water heats and expands. On a closed plumbing system (one with a check valve or pressure reducing valve), an expansion tank is often required by code — and it is what stops your T&P relief valve from leaking. Installing one is a manageable DIY plumbing job. Here is how it works and how to install it.
Why You Need an Expansion Tank
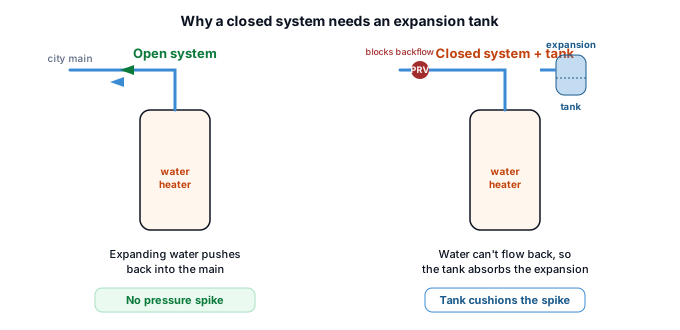
When water heats, it expands — a 50-gallon tank can push out an extra half gallon. In an open system that water pushes back into the city main. But in a closed system (with a backflow preventer, check valve, or pressure reducing valve), it has nowhere to go, so pressure spikes. That repeated pressure stresses the tank, plumbing, and fixtures, and forces the T&P valve to weep. An expansion tank gives the expanding water a cushion of air to push into, absorbing the spike.
Do You Have a Closed System?
You likely need an expansion tank if you have a pressure reducing valve (PRV) or a backflow preventer on your main water line — common in most modern homes and required by many municipalities. Signs you need one: the T&P valve periodically drips, or you hear the pipes or tank creak as pressure builds. Many local codes now require an expansion tank on any new water heater install.
How to Install an Expansion Tank
- Check the tank’s air pressure before installing. Set the tank’s pre-charge (Schrader valve, like a tire) to match your home’s water pressure — typically 40–60 psi. Do this with the tank empty/disconnected.
- Turn off the cold water supply and power/gas to the water heater.
- Install on the cold water line above the water heater, using a tee fitting. The tank can hang down or be supported — follow the maker’s orientation guidance.
- Use thread sealant or PTFE tape on the connections and tighten.
- Turn the water back on, check for leaks, then restore power/gas.
Matching the pre-charge to your water pressure is the step people skip — and an incorrectly charged tank will not work. Measure your home’s pressure with a gauge on a hose bib first.
Cost: DIY vs. Pro
The expansion tank itself costs $40–$70. A plumber typically charges $150–$350 installed. It is a reasonable DIY job if you are comfortable with basic plumbing and have the right fittings — the main requirements are soldering or using push-fit connectors and setting the pre-charge correctly.
Signs Your Expansion Tank Failed
Expansion tanks wear out in 5–10 years. Signs of failure: the T&P valve starts leaking again, or tapping the tank sounds waterlogged (a healthy tank sounds hollow on top, solid on the bottom). A failed tank needs replacing — the internal bladder has ruptured.
FAQ
Do I need an expansion tank on my water heater?
If you have a closed plumbing system — with a pressure reducing valve or backflow preventer on the main line — then yes, and it is often required by code. Signs include a T&P valve that periodically drips and pipes that creak as pressure builds.
Where should an expansion tank be installed?
On the cold water supply line above the water heater, connected with a tee fitting. Set its air pre-charge to match your home’s water pressure (40–60 psi) before installing. Follow the manufacturer’s orientation guidance for mounting.
How much does it cost to install an expansion tank?
The tank costs $40–$70, and professional installation runs $150–$350 total. It is a DIY-friendly job if you are comfortable with basic plumbing connections and setting the pre-charge pressure correctly.
Sources: U.S. Department of Energy — Water Heating · manufacturer installation documentation.